
Continuing in my usual vain of writing down things I do as I do them (Tech-related before you say anything!), even though I’ve done this a hundred times, I thought I’d finally list out the steps for others to do this…
Connecting to the dusty old computer
- Head up to the Apple menu then click System Preferences…
- Select the Sharing icon (folder with a yellow diamond icon, no idea why!?)
- In the left listbox you should see Internet Sharing, click it
- You should now have options to connect from your Wi-Fi connection (if you’re connected via that, I hope so, as it’s the point of this post!). Select whatever you want to connect to, I use my Windows PC (I know, shock horror ok ok!) via Ethernet
- This does not automatically start the sharing, so go back to the listbox on the left and click Internet Sharing again
- You’ll now be prompted to Start Internet sharing or Cancel, I’ll leave that choice up to you!
Advice: Do not use Windows unless there’s a REALLY REALLY good reason, install Linux (Ubuntu dist is great) or SteamOS (if your machine is powerful enough). I have both, of course :)
Sharing Internet with your Xbox 360
I recently (thanks to the beauty of Facebook’s Groups and a very kind resident on my apartment complex) recovered my old game saves from my hard drive and took ownership of a replacement Xbox 360 after my old baby died a red-ring death early last year. However, since the Playstation has now taken ownership of the living room where the router resides, the poor old Xbox 360 is relegated to the bedroom and in need of some tender-loving Wi-Fi action!
Unfortunately, those amazing brains (serious sarcasm here) over at Microsoft didn’t include wireless capability when it first released or even on the Elite, and as I like to save a few pennies here and there, paying another £60 on a wireless adapter is unacceptable to me. Thankfully, Mac to the rescue again! Only this time there’s a little more to it…
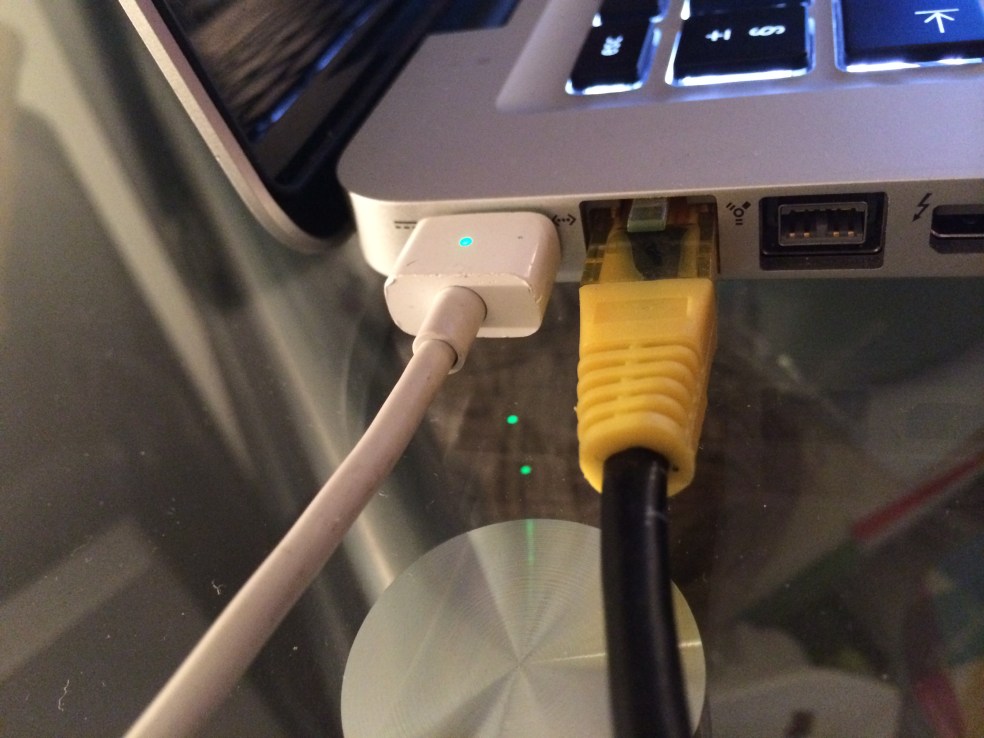
- Connect the Mac to the Xbox 360 with an ethernet cable
- Follow the steps above to enable Ethernet
- Head back to the main menu by clicking Show All and then select the Network globe
- This dialog maybe locked, unlock it by clicking the padlock in the bottom left
- Select Wi-Fi in the left pane, and then Advanced in the bottom right corner
- Click the DNS tab and take a note of the numbers under DNS Servers (you should only have one set)
- Hit OK and then select Ethernet (or Thunderbolt Ethernet) and click Advanced
- In the TCP/IP tab, set Configure IPv4 to Off using the drop-down menu
- Click OK then Apply and quit System Preferences
- Now, switch to your Xbox, locate Network Settings (how you get there depends on the dashboard version you’re on), select Wired Network and then select Configure Network
- Set the IP address in the Basic Settings tab to Manual and enter 192.168.2.2 into the field
- In the Subnet Mask field, enter 255.255.255.0; also set the Gateway to 192.168.2.1 and press Done
- Select DNS Settings and insert IP address you noted down earlier
- Test the connection on your Xbox 360
- Play!
Obviously depending on what you are connecting to, you may have some problems. I’m happy to assist as I have most configurations (with various OS’s) at home. Just let me know and I’ll continuing updating the blog post.
